需求
先來看這樣一個(gè)場景,拿一個(gè)網(wǎng)站舉例

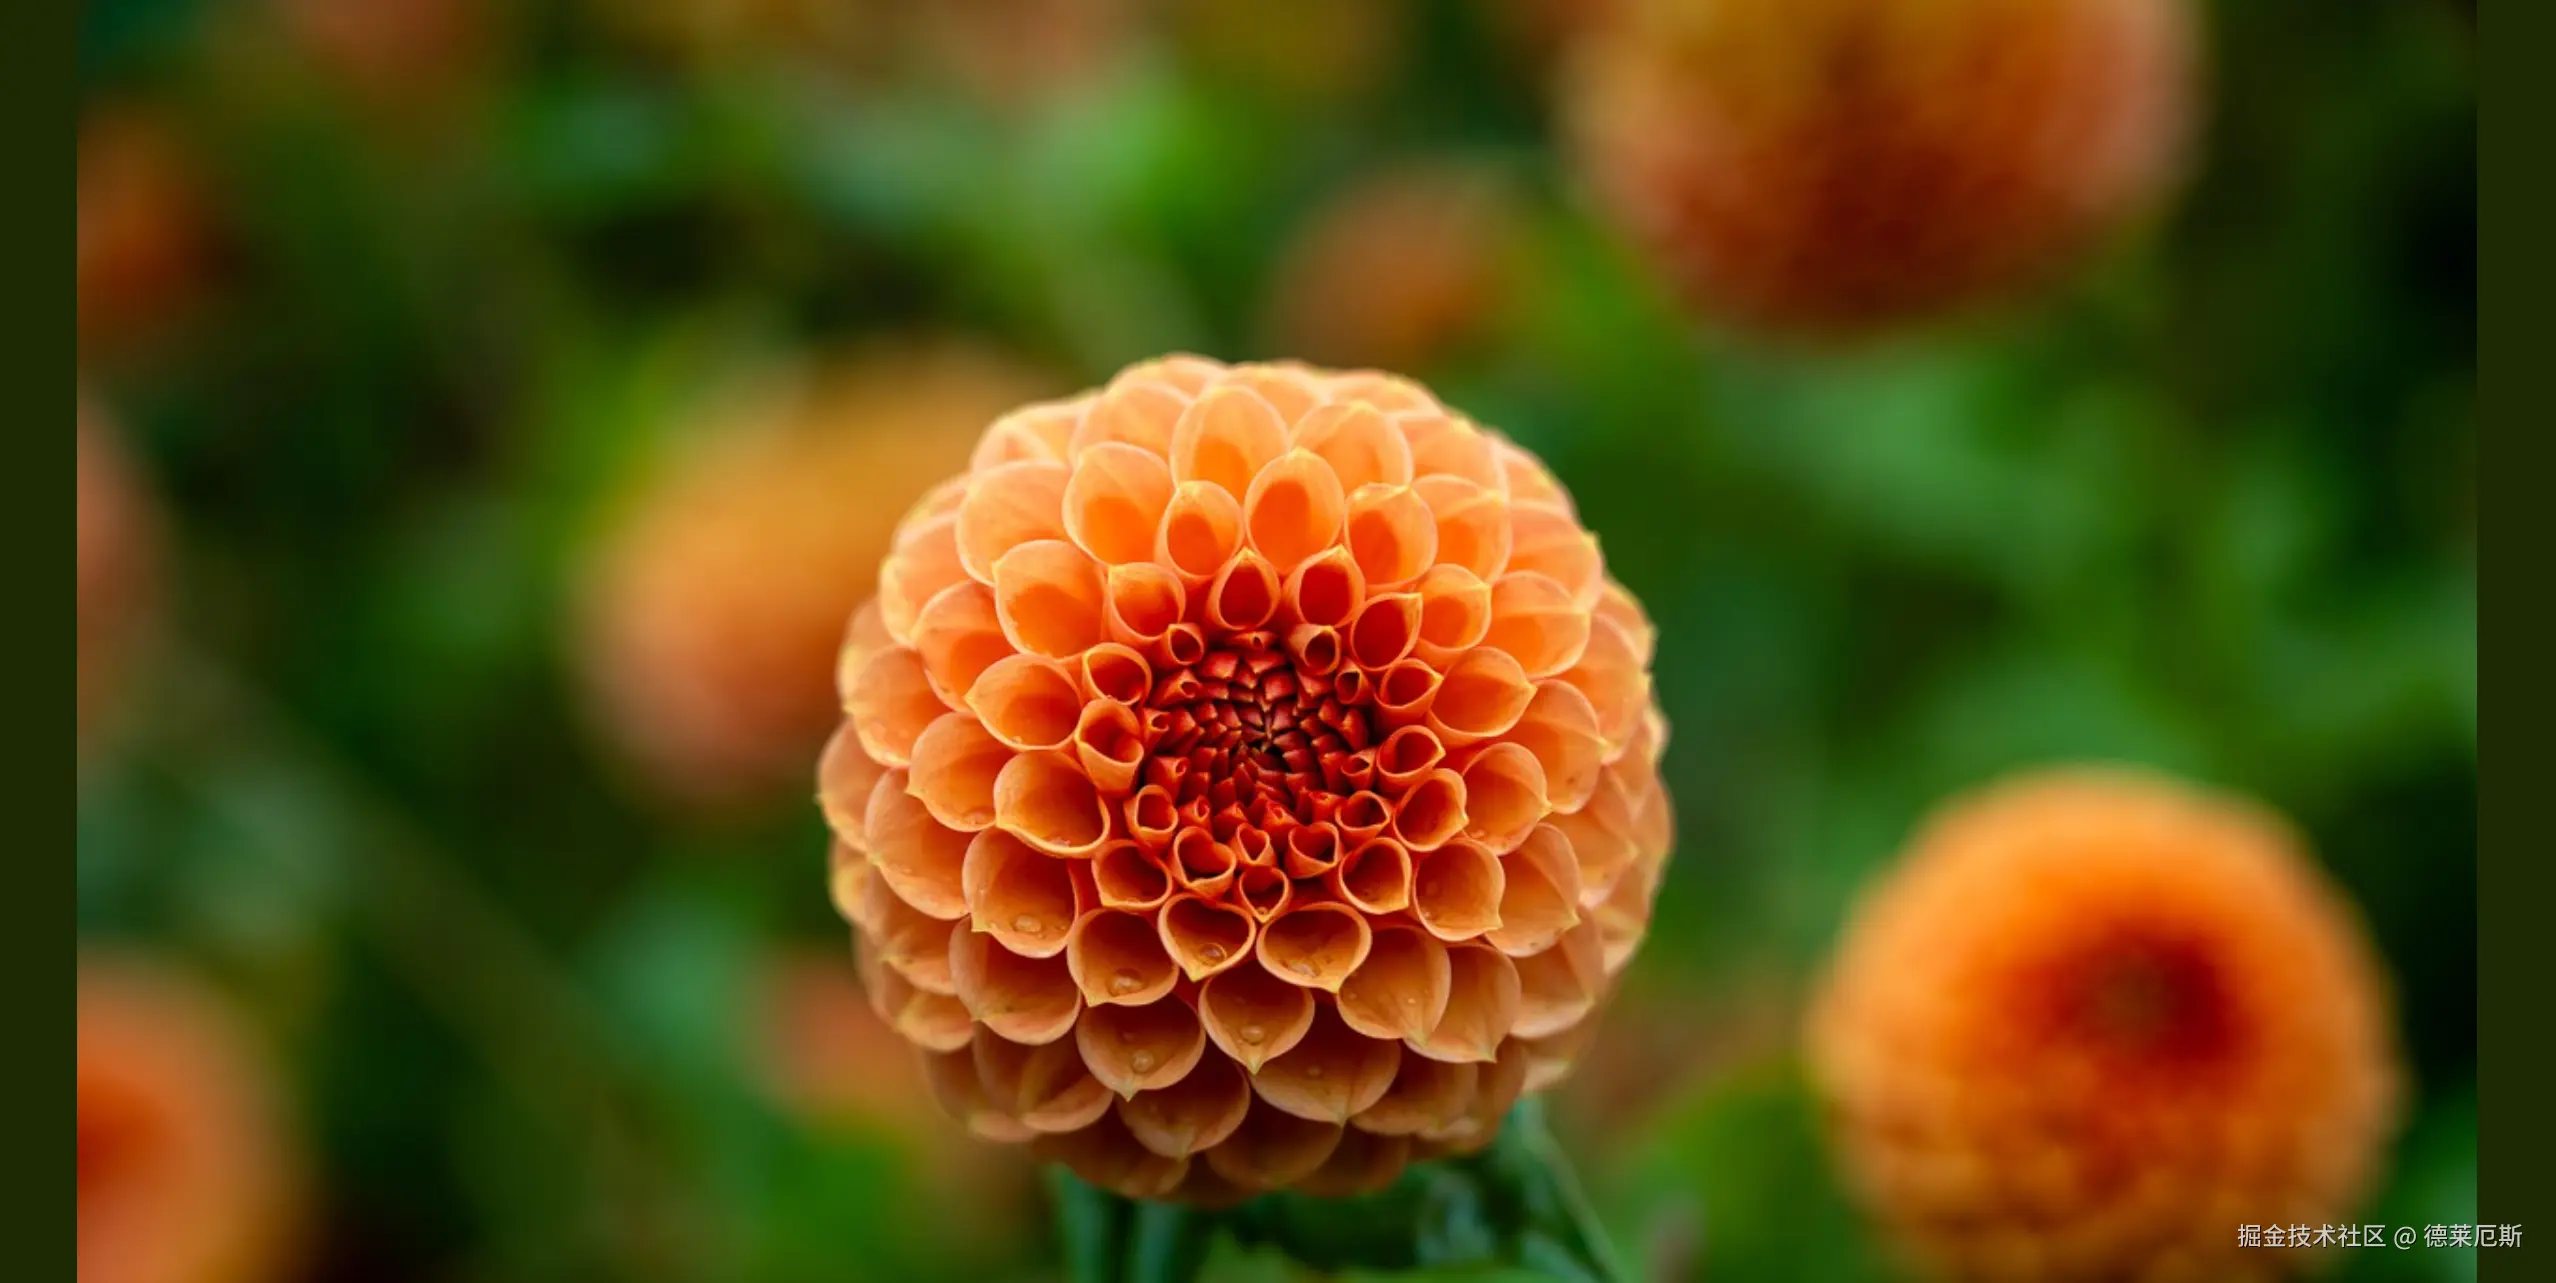
這里有一個(gè)常見的網(wǎng)站 banner 圖容器,大小為為1910*560,看起來背景圖完美的充滿了寬度,但是圖片原始大小時(shí),卻是:

它的寬度只有 1440,且 background-size 設(shè)置的是 contain ,即等比例縮放,那么可以斷定它兩邊的藍(lán)色是依靠背景色填充的。
那么問題來了,這是一個(gè) 輪播banner,如果希望添加一張不是藍(lán)色的圖片呢?難道要給每張圖片提前標(biāo)注好背景顏色嗎?這顯然是非常死板的做法。
所以需要從圖片中提取到圖片的主題色,當(dāng)然這對于 js 來說,也不是什么難事,市面上已經(jīng)有眾多的開源庫供我們使用。
探索
首先在網(wǎng)絡(luò)上找到了以下幾個(gè)庫:
- color-thief 這是一款基于 JavaScript 和 Canvas 的工具,能夠從圖像中提取主要顏色或代表性的調(diào)色板
- vibrant.js該插件是 Android 支持庫中 Palette 類的 JavaScript 版本,可以從圖像中提取突出的顏色
- rgbaster.js 這是一段小型腳本,可以獲取圖片的主色、次色等信息,方便實(shí)現(xiàn)一些精彩的 Web 交互效果
我取最輕量化的 rgbaster.js(此庫非常搞笑,用TS編寫,npm 包卻沒有指定 types) 來測試后發(fā)現(xiàn),它給我在一個(gè)漸變色圖片中,返回了七萬多個(gè)色值,當(dāng)然,它準(zhǔn)確的提取出了面積最大的色值,但是這個(gè)色值不是圖片邊緣的顏色,導(dǎo)致設(shè)置為背景色后,并不能完美的融合。
另外的插件各位可以參考這幾篇文章:
可以發(fā)現(xiàn),這些插件主要功能就是取色,并沒有考慮實(shí)際的應(yīng)用場景,對于一個(gè)圖片顏色分析工具來說,他們做的很到位,但是在大多數(shù)場景中,他們往往是不適用的。
在文章 2 中,作者對比了三款插件對于圖片容器背景色的應(yīng)用,看起來還是 rgbaster 效果好一點(diǎn),但是我們剛剛也拿他試了,它并不能適用于顏色復(fù)雜度高的、漸變色的圖片。
思考
既然又又又沒有人做這件事,正所謂我不入地獄誰入地獄,我手寫一個(gè)
整理一下需求,我發(fā)現(xiàn)我希望得到的是:
- 圖片的主題色(面積占比最大)
- 次主題色(面積占比第二大)
- 合適的背景色(即圖片邊緣顏色,漸變時(shí),需要邊緣顏色來設(shè)置背景色)
這樣一來,就已經(jīng)可以覆蓋大部分需求了,1+2 可以生成相關(guān)的 主題 TAG、主題背景,3 可以使留白的圖片容器完美融合。
開搞
?? 本小節(jié)內(nèi)容非常硬核,如果不想深究原理可以直接跳過,文章末尾有用法和效果圖 ??
思路
首先需要避免上面提到的插件的缺點(diǎn),即對漸變圖片要做好處理,不能取出成千上萬的顏色,體驗(yàn)太差且實(shí)用性不強(qiáng),對于漸變色還有一點(diǎn),即在漸變路徑上,每一點(diǎn)的顏色都是不一樣的,所以需要將他們以一個(gè)閾值分類,挑選出一眾相近色,并計(jì)算出一個(gè)平均色,這樣就不會(huì)導(dǎo)致主題色太精準(zhǔn)進(jìn)而沒有代表性。
對于背景色,需要按情況分析,如果只是希望做一個(gè)協(xié)調(diào)的頁面,那么大可以直接使用主題色做漸變過渡或蒙層,也就是類似于這種效果

但是如果希望背景與圖片完美銜接,讓人看不出圖片邊界的感覺,就需要單獨(dú)對邊緣顏色取色了。
最后一個(gè)問題,如果圖片分辨率過大,在遍歷像素點(diǎn)時(shí)會(huì)非常消耗性能,所以需要降低采樣率,雖然會(huì)導(dǎo)致一些精度上的丟失,但是調(diào)整為一個(gè)合適的值后應(yīng)該基本可用。
剩余的細(xì)節(jié)問題,我會(huì)在下面的代碼中解釋
使用 JaveScript 編碼
接下來我將詳細(xì)描述 autohue.js 的實(shí)現(xiàn)過程,由于本人對色彩科學(xué)不甚了解,如有解釋不到位或錯(cuò)誤,還請指出。
首先編寫一個(gè)入口主函數(shù),我目前考慮到的參數(shù)應(yīng)該有:
export default async function colorPicker(imageSource: HTMLImageElement | string, options?: autoColorPickerOptions)
type thresholdObj = { primary?: number; left?: number; right?: number; top?: number; bottom?: number }
interface autoColorPickerOptions {
maxSize?: number
threshold?: number | thresholdObj
}
概念解釋 Lab ,全稱:CIE L*a*b ,CIE L*a*b* 是CIE XYZ色彩模式的改進(jìn)型。它的“L”(明亮度),“a”(綠色到紅色)和“b”(藍(lán)色到黃色)代表許多的值。與XYZ比較,CIE L*a*b*的色彩更適合于人眼感覺的色彩,正所謂感知均勻
然后需要實(shí)現(xiàn)一個(gè)正常的 loadImg 方法,使用 canvas 異步加載圖片
function loadImage(imageSource: HTMLImageElement | string): Promise<HTMLImageElement> {
  return new Promise((resolve, reject) => {
    let img: HTMLImageElement
    if (typeof imageSource === 'string') {
      img = new Image()
      img.crossOrigin = 'Anonymous'
      img.src = imageSource
    } else {
      img = imageSource
    }
    if (img.complete) {
      resolve(img)
    } else {
      img.onload = () => resolve(img)
      img.onerror = (err) => reject(err)
    }
  })
}
這樣我們就獲取到了圖片對象。
然后為了圖片過大,我們需要進(jìn)行降采樣處理
function getImageDataFromImage(img: HTMLImageElement, maxSize: number = 100): ImageData {
const canvas = document.createElement('canvas')
let width = img.naturalWidth
let height = img.naturalHeight
if (width > maxSize || height > maxSize) {
const scale = Math.min(maxSize / width, maxSize / height)
width = Math.floor(width * scale)
height = Math.floor(height * scale)
}
canvas.width = width
canvas.height = height
const ctx = canvas.getContext('2d')
if (!ctx) {
throw new Error('無法獲取 Canvas 上下文')
}
ctx.drawImage(img, 0, 0, width, height)
return ctx.getImageData(0, 0, width, height)
}
概念解釋,降采樣:降采樣(Downsampling)是指在圖像處理中,通過減少數(shù)據(jù)的采樣率或分辨率來降低數(shù)據(jù)量的過程。具體來說,就是在保持原始信息大致特征的情況下,減少數(shù)據(jù)的復(fù)雜度和存儲(chǔ)需求。這里簡單理解為將圖片強(qiáng)制壓縮為 100*100 以內(nèi),也是 canvas 壓縮圖片的常見做法。
得到圖像信息后,就可以對圖片進(jìn)行像素遍歷處理了,正如思考中提到的,我們需要對相近色提取并取平均色,并最終獲取到主題色、次主題色。
那么問題來了,什么才算相近色,對于這個(gè)問題,在 常規(guī)的 rgb 中直接計(jì)算是不行的,因?yàn)樗婕暗揭粋€(gè)感知均勻的問題
概念解釋,感知均勻:XYZ系統(tǒng)和在它的色度圖上表示的兩種顏色之間的距離與顏色觀察者感知的變化不一致,這個(gè)問題叫做感知均勻性(perceptual uniformity)問題,也就是顏色之間數(shù)字上的差別與視覺感知不一致。由于我們需要在顏色簇中計(jì)算出平均色,那么對于人眼來說哪些顏色是相近的?此時(shí),我們需要把 sRGB 轉(zhuǎn)化為 Lab 色彩空間(感知均勻的),再計(jì)算其歐氏距離,在某一閾值內(nèi)的顏色,即可認(rèn)為是相近色。
所以我們首先需要將 rgb 轉(zhuǎn)化為 Lab 色彩空間
function rgbToLab(r: number, g: number, b: number): [number, number, number] {
let R = r / 255,
G = g / 255,
B = b / 255
R = R > 0.04045 ? Math.pow((R + 0.055) / 1.055, 2.4) : R / 12.92
G = G > 0.04045 ? Math.pow((G + 0.055) / 1.055, 2.4) : G / 12.92
B = B > 0.04045 ? Math.pow((B + 0.055) / 1.055, 2.4) : B / 12.92
let X = R * 0.4124 + G * 0.3576 + B * 0.1805
let Y = R * 0.2126 + G * 0.7152 + B * 0.0722
let Z = R * 0.0193 + G * 0.1192 + B * 0.9505
X = X / 0.95047
Y = Y / 1.0
Z = Z / 1.08883
const f = (t: number) => (t > 0.008856 ? Math.pow(t, 1 / 3) : 7.787 * t + 16 / 116)
const fx = f(X)
const fy = f(Y)
const fz = f(Z)
const L = 116 * fy - 16
const a = 500 * (fx - fy)
const bVal = 200 * (fy - fz)
return [L, a, bVal]
}
這個(gè)函數(shù)使用了看起來很復(fù)雜的算法,不必深究,這是它的大概解釋:
獲取到 rgb 參數(shù)
轉(zhuǎn)化為線性 rgb(移除 gamma矯正),常量 0.04045 是sRGB(標(biāo)準(zhǔn)TGB)顏色空間中的一個(gè)閾值,用于區(qū)分非線性和線性的sRGB值,具體來說,當(dāng)sRGB顏色分量大于0.04045時(shí),需要通過 gamma 校正(即采用 ((R + 0.055) / 1.055) ^ 2.4)來得到線性RGB;如果小于等于0.04045,則直接進(jìn)行線性轉(zhuǎn)換(即 R / 12.92)
線性RGB到XYZ空間的轉(zhuǎn)換,轉(zhuǎn)換公式如下:
X = R * 0.4124 + G * 0.3576 + B * 0.1805Y = R * 0.2126 + G * 0.7152 + B * 0.0722Z = R * 0.0193 + G * 0.1192 + B * 0.9505
歸一化XYZ值,為了參考白點(diǎn)(D65),標(biāo)準(zhǔn)白點(diǎn)的XYZ值是 (0.95047, 1.0, 1.08883)。所以需要通過除以這些常數(shù)來進(jìn)行歸一化
XYZ到Lab的轉(zhuǎn)換,公式函數(shù):const f = (t: number) => (t > 0.008856 ? Math.pow(t, 1 / 3) : 7.787 * t + 16 / 116)
計(jì)算L, a, b 分量
L:亮度分量(表示顏色的明暗程度)
a:綠色到紅色的色差分量
b:藍(lán)色到黃色的色差分量
接下來實(shí)現(xiàn)聚類算法
function clusterPixelsByCondition(imageData: ImageData, condition: (x: number, y: number) => boolean, threshold: number = 10): Cluster[] {
const clusters: Cluster[] = []
const data = imageData.data
const width = imageData.width
const height = imageData.height
for (let y = 0; y < height; y++) {
for (let x = 0; x < width; x++) {
if (!condition(x, y)) continue
const index = (y * width + x) * 4
if (data[index + 3] === 0) continue
const r = data[index]
const g = data[index + 1]
const b = data[index + 2]
const lab = rgbToLab(r, g, b)
let added = false
for (const cluster of clusters) {
const d = labDistance(lab, cluster.averageLab)
if (d < threshold) {
cluster.count++
cluster.sumRgb[0] += r
cluster.sumRgb[1] += g
cluster.sumRgb[2] += b
cluster.sumLab[0] += lab[0]
cluster.sumLab[1] += lab[1]
cluster.sumLab[2] += lab[2]
cluster.averageRgb = [cluster.sumRgb[0] / cluster.count, cluster.sumRgb[1] / cluster.count, cluster.sumRgb[2] / cluster.count]
cluster.averageLab = [cluster.sumLab[0] / cluster.count, cluster.sumLab[1] / cluster.count, cluster.sumLab[2] / cluster.count]
added = true
break
}
}
if (!added) {
clusters.push({
count: 1,
sumRgb: [r, g, b],
sumLab: [lab[0], lab[1], lab[2]],
averageRgb: [r, g, b],
averageLab: [lab[0], lab[1], lab[2]]
})
}
}
}
return clusters
}
函數(shù)內(nèi)部有一個(gè) labDistance 的調(diào)用,labDistance 是計(jì)算 Lab 顏色空間中的歐氏距離的
function labDistance(lab1: [number, number, number], lab2: [number, number, number]): number {
const dL = lab1[0] - lab2[0]
const da = lab1[1] - lab2[1]
const db = lab1[2] - lab2[2]
return Math.sqrt(dL * dL + da * da + db * db)
}
概念解釋,歐氏距離:Euclidean Distance,是一種在多維空間中測量兩個(gè)點(diǎn)之間“直線”距離的方法。這種距離的計(jì)算基于歐幾里得幾何中兩點(diǎn)之間的距離公式,通過計(jì)算兩點(diǎn)在各個(gè)維度上的差的平方和,然后取平方根得到。歐氏距離是指n維空間中兩個(gè)點(diǎn)之間的真實(shí)距離,或者向量的自然長度(即該點(diǎn)到原點(diǎn)的距離)。
總的來說,這個(gè)函數(shù)采用了類似 K-means 的聚類方式,將小于用戶傳入閾值的顏色歸為一簇,并取平均色(使用 Lab 值)。
概念解釋,聚類算法:Clustering Algorithm 是一種無監(jiān)督學(xué)習(xí)方法,其目的是將數(shù)據(jù)集中的元素分成不同的組(簇),使得同一組內(nèi)的元素相似度較高,而不同組之間的元素相似度較低。這里是將相近色歸為一簇。
概念解釋,顏色簇:簇是聚類算法中一個(gè)常見的概念,可以大致理解為 "一類"
得到了顏色簇集合后,就可以按照count大小來判斷哪個(gè)是主題色了
let clusters = clusterPixelsByCondition(imageData, () => true, threshold.primary)
clusters.sort((a, b) => b.count - a.count)
const primaryCluster = clusters[0]
const secondaryCluster = clusters.length > 1 ? clusters[1] : clusters[0]
const primaryColor = rgbToHex(primaryCluster.averageRgb)
const secondaryColor = rgbToHex(secondaryCluster.averageRgb)
現(xiàn)在我們已經(jīng)獲取到了主題色、次主題色 ??????
接下來,我們繼續(xù)計(jì)算邊緣顏色
按照同樣的方法,只是把閾值設(shè)小一點(diǎn),我這里直接設(shè)置為 1 (threshold.top 等都是1)
const topClusters = clusterPixelsByCondition(imageData, (_x, y) => y < margin, threshold.top)
topClusters.sort((a, b) => b.count - a.count)
const topColor = topClusters.length > 0 ? rgbToHex(topClusters[0].averageRgb) : primaryColor
const bottomClusters = clusterPixelsByCondition(imageData, (_x, y) => y >= height - margin, threshold.bottom)
bottomClusters.sort((a, b) => b.count - a.count)
const bottomColor = bottomClusters.length > 0 ? rgbToHex(bottomClusters[0].averageRgb) : primaryColor
const leftClusters = clusterPixelsByCondition(imageData, (x, _y) => x < margin, threshold.left)
leftClusters.sort((a, b) => b.count - a.count)
const leftColor = leftClusters.length > 0 ? rgbToHex(leftClusters[0].averageRgb) : primaryColor
const rightClusters = clusterPixelsByCondition(imageData, (x, _y) => x >= width - margin, threshold.right)
rightClusters.sort((a, b) => b.count - a.count)
const rightColor = rightClusters.length > 0 ? rgbToHex(rightClusters[0].averageRgb) : primaryColor
這樣我們就獲取到了上下左右四條邊的顏色 ??????
這樣大致的工作就完成了,最后我們將需要的屬性導(dǎo)出給用戶,我們的主函數(shù)最終長這樣:
export default async function colorPicker(imageSource: HTMLImageElement | string, options?: autoColorPickerOptions): Promise<AutoHueResult> {
const { maxSize, threshold } = __handleAutoHueOptions(options)
const img = await loadImage(imageSource)
const imageData = getImageDataFromImage(img, maxSize)
let clusters = clusterPixelsByCondition(imageData, () => true, threshold.primary)
clusters.sort((a, b) => b.count - a.count)
const primaryCluster = clusters[0]
const secondaryCluster = clusters.length > 1 ? clusters[1] : clusters[0]
const primaryColor = rgbToHex(primaryCluster.averageRgb)
const secondaryColor = rgbToHex(secondaryCluster.averageRgb)
const margin = 10
const width = imageData.width
const height = imageData.height
const topClusters = clusterPixelsByCondition(imageData, (_x, y) => y < margin, threshold.top)
topClusters.sort((a, b) => b.count - a.count)
const topColor = topClusters.length > 0 ? rgbToHex(topClusters[0].averageRgb) : primaryColor
const bottomClusters = clusterPixelsByCondition(imageData, (_x, y) => y >= height - margin, threshold.bottom)
bottomClusters.sort((a, b) => b.count - a.count)
const bottomColor = bottomClusters.length > 0 ? rgbToHex(bottomClusters[0].averageRgb) : primaryColor
const leftClusters = clusterPixelsByCondition(imageData, (x, _y) => x < margin, threshold.left)
leftClusters.sort((a, b) => b.count - a.count)
const leftColor = leftClusters.length > 0 ? rgbToHex(leftClusters[0].averageRgb) : primaryColor
const rightClusters = clusterPixelsByCondition(imageData, (x, _y) => x >= width - margin, threshold.right)
rightClusters.sort((a, b) => b.count - a.count)
const rightColor = rightClusters.length > 0 ? rgbToHex(rightClusters[0].averageRgb) : primaryColor
return {
primaryColor,
secondaryColor,
backgroundColor: {
top: topColor,
right: rightColor,
bottom: bottomColor,
left: leftColor
}
}
}
還記得本小節(jié)一開始提到的參數(shù)嗎,你可以自定義 maxSize(壓縮大小,用于降采樣)、threshold(閾值,用于設(shè)置簇大小)
為了用戶友好,我還編寫了 threshold 參數(shù)的可選類型:number | thresholdObj
type thresholdObj = { primary?: number; left?: number; right?: number; top?: number; bottom?: number }
可以單獨(dú)設(shè)置主閾值、上下左右四邊閾值,以適應(yīng)更個(gè)性化的情況。
autohue.js 誕生了
名字的由來:秉承一貫命名習(xí)慣,auto 家族成員又多一個(gè),與顏色有關(guān)的單詞有好多個(gè),我取了最短最好記的一個(gè) hue(色相),也比較契合插件用途。
此插件已在 github 開源:GitHub autohue.js
npm 主頁:NPM autohue.js
在線體驗(yàn):autohue.js 官方首頁
安裝與使用
pnpm i autohue.js
import autohue from 'autohue.js'
autohue(url, {
threshold: {
primary: 10,
left: 1,
bottom: 12
},
maxSize: 50
})
.then((result) => {
console.log(`%c${result.primaryColor}`, 'color: #fff; background: ' + result.primaryColor, 'main')
console.log(`%c${result.secondaryColor}`, 'color: #fff; background: ' + result.secondaryColor, 'sub')
console.log(`%c${result.backgroundColor.left}`, 'color: #fff; background: ' + result.backgroundColor.left, 'bg-left')
console.log(`%c${result.backgroundColor.right}`, 'color: #fff; background: ' + result.backgroundColor.right, 'bg-right')
console.log(`%clinear-gradient to right`, 'color: #fff; background: linear-gradient(to right, ' + result.backgroundColor.left + ', ' + result.backgroundColor.right + ')', 'bg')
bg.value = `linear-gradient(to right, ${result.backgroundColor.left}, ${result.backgroundColor.right})`
})
.catch((err) => console.error(err))
最終效果
復(fù)雜邊緣效果

縱向漸變效果(這里使用的是 left 和 right 邊的值,可能使用 top 和 bottom 效果更佳)

純色效果(因?yàn)閱为?dú)對邊緣采樣,所以無論圖片內(nèi)容多復(fù)雜,純色基本看不出邊界)

突變邊緣效果(此時(shí)用css做漸變蒙層應(yīng)該效果會(huì)更好)

橫向漸變效果(使用的是 left 和 right 的色值),基本看不出邊界
轉(zhuǎn)自https://juejin.cn/post/7471919714292105270
?
該文章在 2025/4/16 14:42:10 編輯過
晴ERP是一款針對中小制造業(yè)的專業(yè)生產(chǎn)管理軟件系統(tǒng),系統(tǒng)成熟度和易用性得到了國內(nèi)大量中小企業(yè)的青睞。")
晴PMS碼頭管理系統(tǒng)主要針對港口碼頭集裝箱與散貨日常運(yùn)作、調(diào)度、堆場、車隊(duì)、財(cái)務(wù)費(fèi)用、相關(guān)報(bào)表等業(yè)務(wù)管理,結(jié)合碼頭的業(yè)務(wù)特點(diǎn),圍繞調(diào)度、堆場作業(yè)而開發(fā)的。集技術(shù)的先進(jìn)性、管理的有效性于一體,是物流碼頭及其他港口類企業(yè)的高效ERP管理信息系統(tǒng)。")
晴WMS倉儲(chǔ)管理系統(tǒng)提供了貨物產(chǎn)品管理,銷售管理,采購管理,倉儲(chǔ)管理,倉庫管理,保質(zhì)期管理,貨位管理,庫位管理,生產(chǎn)管理,WMS管理系統(tǒng),標(biāo)簽打印,條形碼,二維碼管理,批號(hào)管理軟件。")
晴免費(fèi)OA是一款軟件和通用服務(wù)都免費(fèi),不限功能、不限時(shí)間、不限用戶的免費(fèi)OA協(xié)同辦公管理系統(tǒng)。")


 400 186 1886
晴公司官網(wǎng)")